Upgrading My Erlbacher Knitting Machine
When I bought my circular knitting machine I insisted on buying and having the table shipped to me. The machine was second hand, but I wanted the whole deal. Unfortunately, I was never happy with the table--it wobbled no matter how much I tried to stabilize the foolish thing. On top of that, it didn't really have much room to move around or to stack up devices or cones of yarn.
Everyone on the social medias raved about these laptop carts for a new stand, and I was tempted for a while but didn't make the plunge. I couldn't find any instructions on how to modify them for the machine, and frankly I had too many other things going on to pursue it.
 |
| The laptop cart used. |
Well, I finally bit the bullet and tackled the project this week. Turns out it was a cinch!
Supplies
You will need the following for this upgrade.
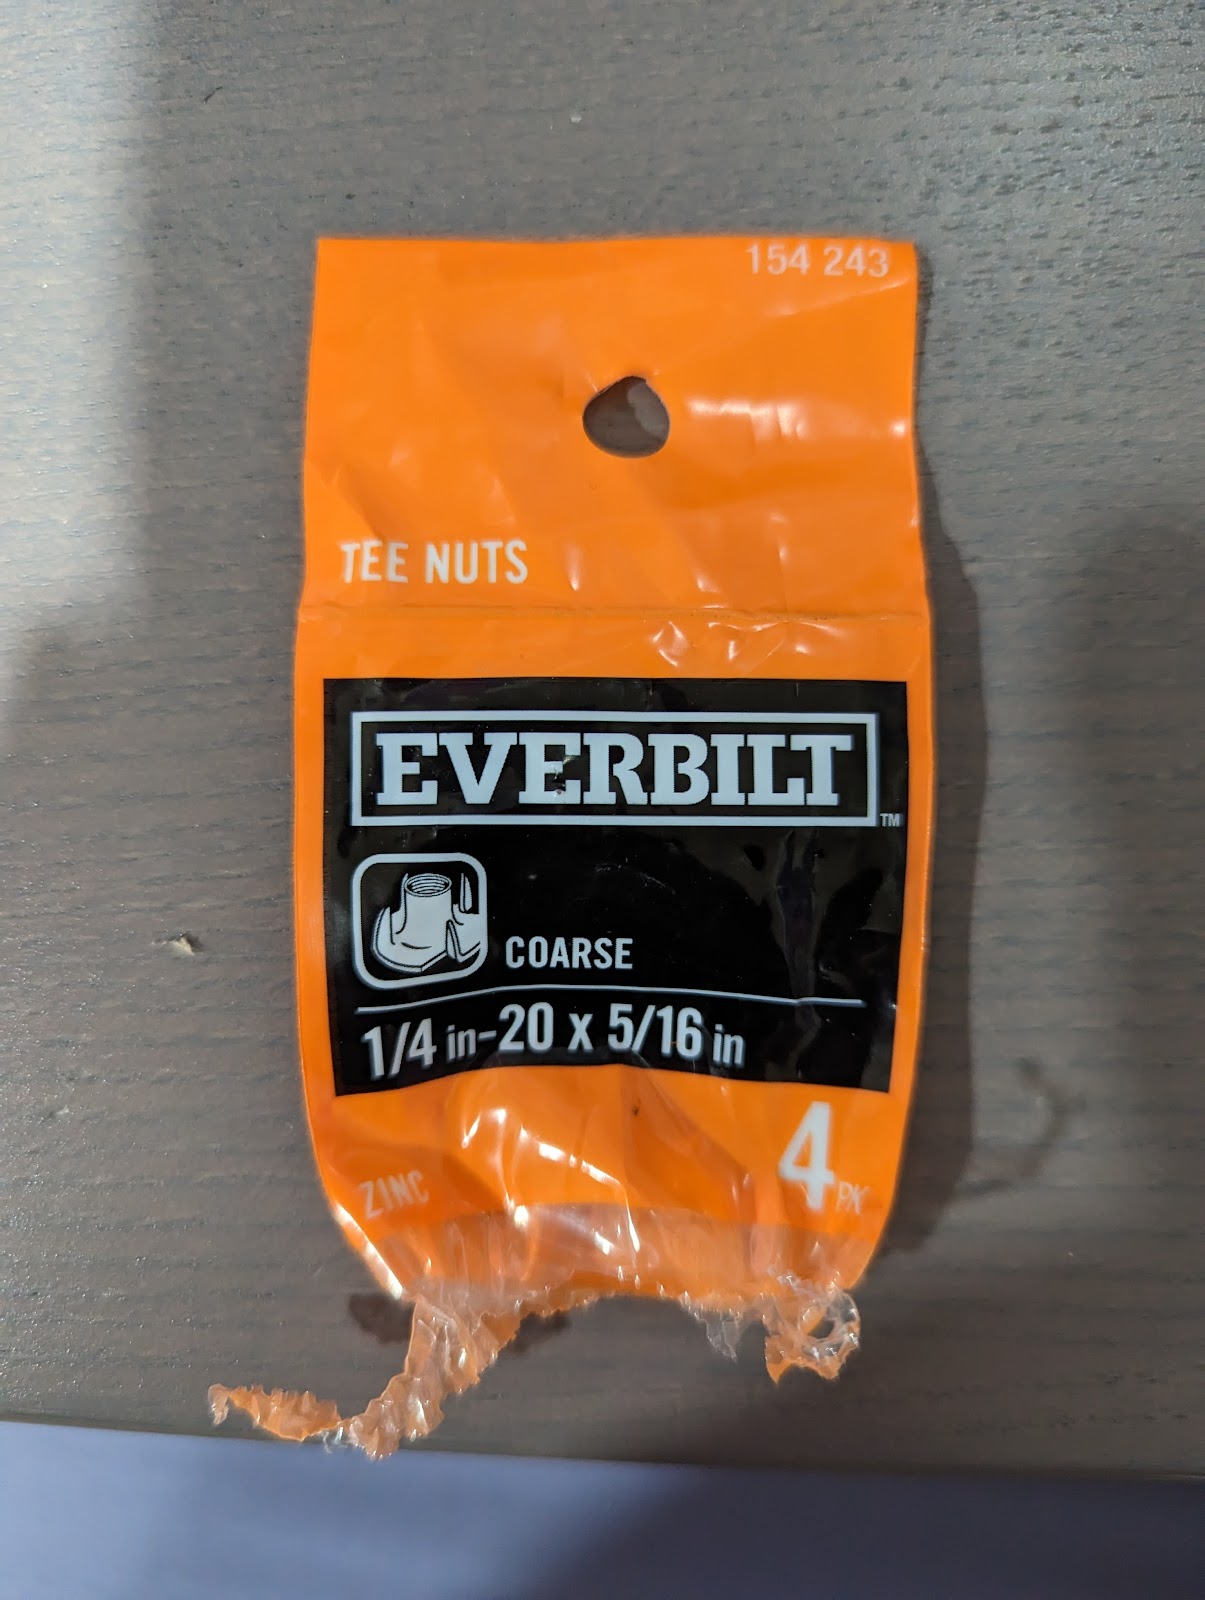
- 2-4 tee nuts, 1/4 in-20 x 5/16 in (depends on how many options you want to leave yourself for attachment points)
- 2 screws, 1/4 in-20 x 1 in (replaces the screws your machine might have come with for a smoother look)
- A hammer
- A drill with a 5/16 in drill bit
- The laptop cart linked here

Instructions
- Assemble the cart according to the directions. This includes attaching the top to the stand, though you may want to hold off on installing the handle in the back.
- With help, place your machine where you would like it to be once attached. Clamps to hold it into place are helpful. IMPORTANT NOTE: Make sure before proceeding that you can achieve full range of motion in the crank handle, and that it's not too tippy for you!
- Mark with a permanent marker or your marking device of choice where the attachment points lie in this position. Initially, I used the original table to make a template with a piece of cardboard, but eventually decided to switch to physically placing the machine and marking the holes so that it'd be more firmly attached to and resting on the table top.
My cardboard template. This wound up being less than ideal because the machine was very close to the front and made the cart more tippy than I liked. - Drill your marked holes with the drill bit all the way through. Take your time to avoid shredding the laminate on top of the MDF.
- Remove the table top from the cart, and place on a firm surface upside down with a thin layer of padding between the table top and the surface to prevent damage to either surface. I used the side of a raised bed.
- Place a tee nut in each hole, with the prongs facing down.
- Hammer the nuts into place until flush with the table surface.
A view of the underside, with two tee nuts in place for two different placements of the machine. - Reattach the top to the cart.
- Slide the machine onto the cart, and screw into the nuts using the 1 inch screws.
- Attach the back handle of the cart if you didn't in step 1.


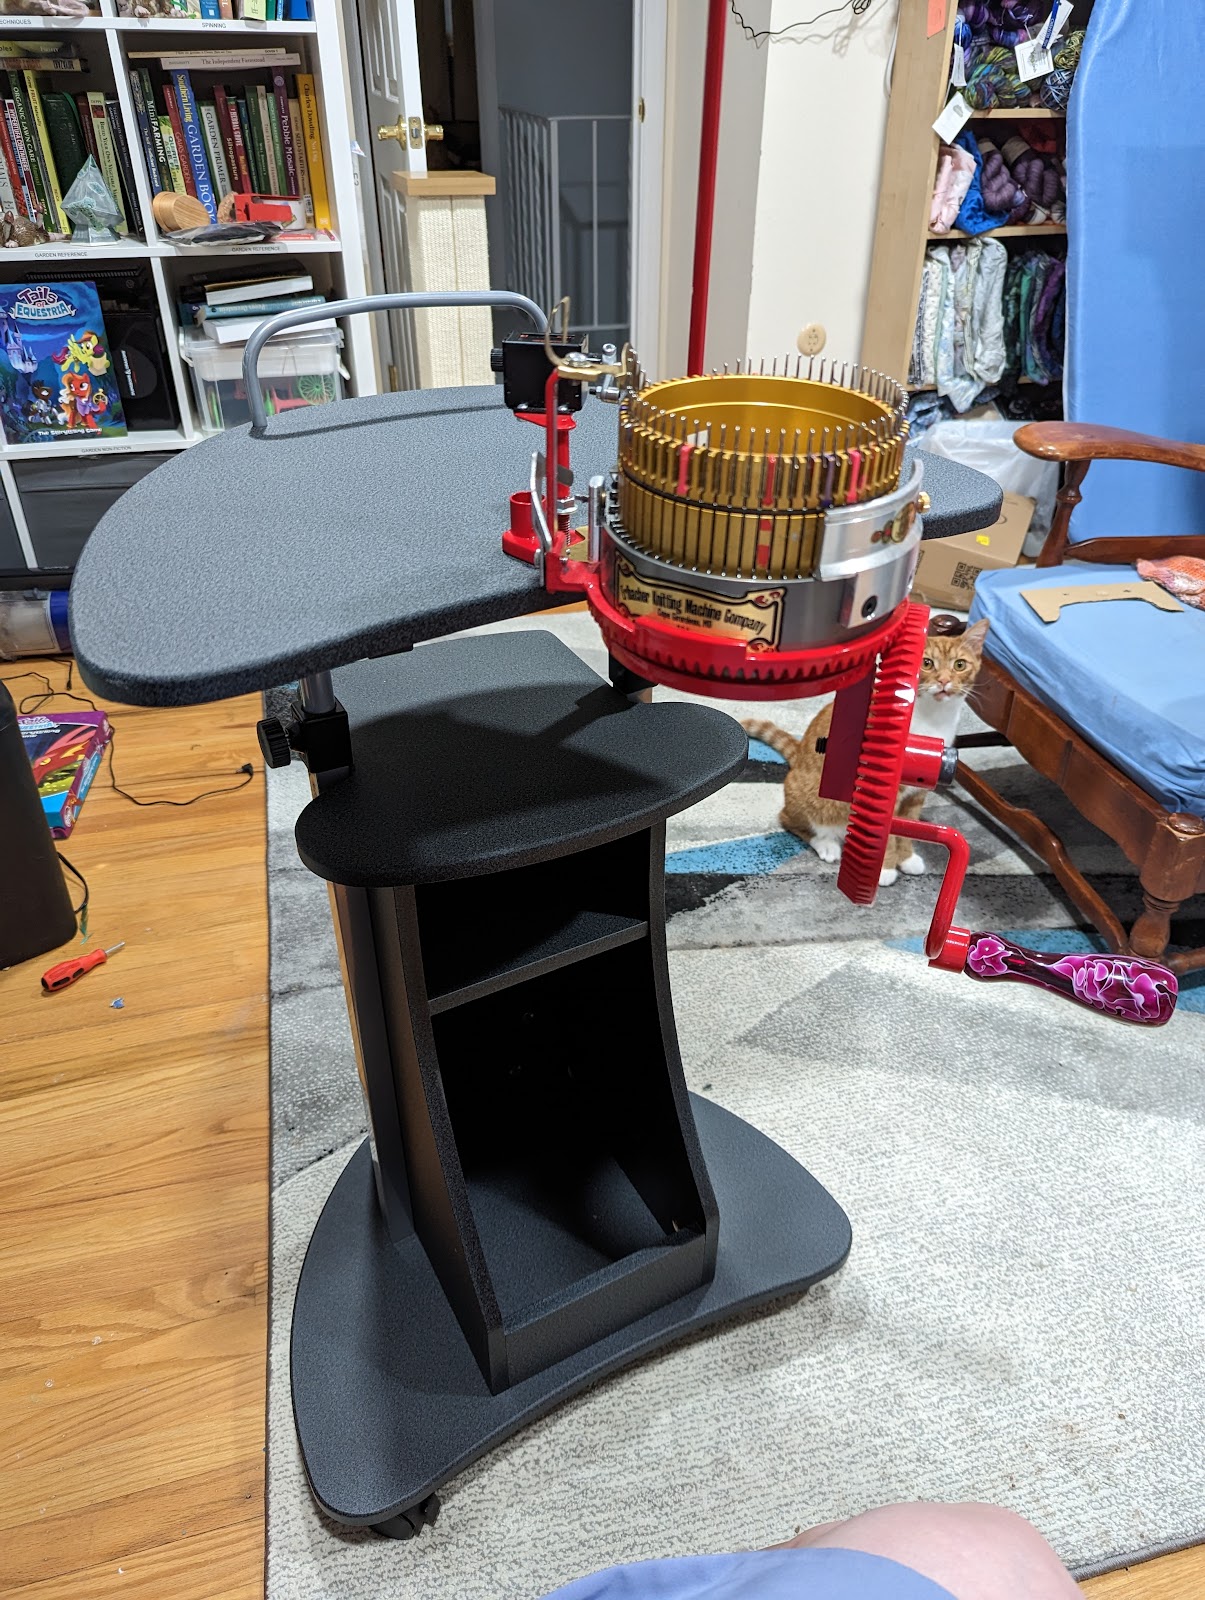 |
| The finished result! |

Comments
Post a Comment